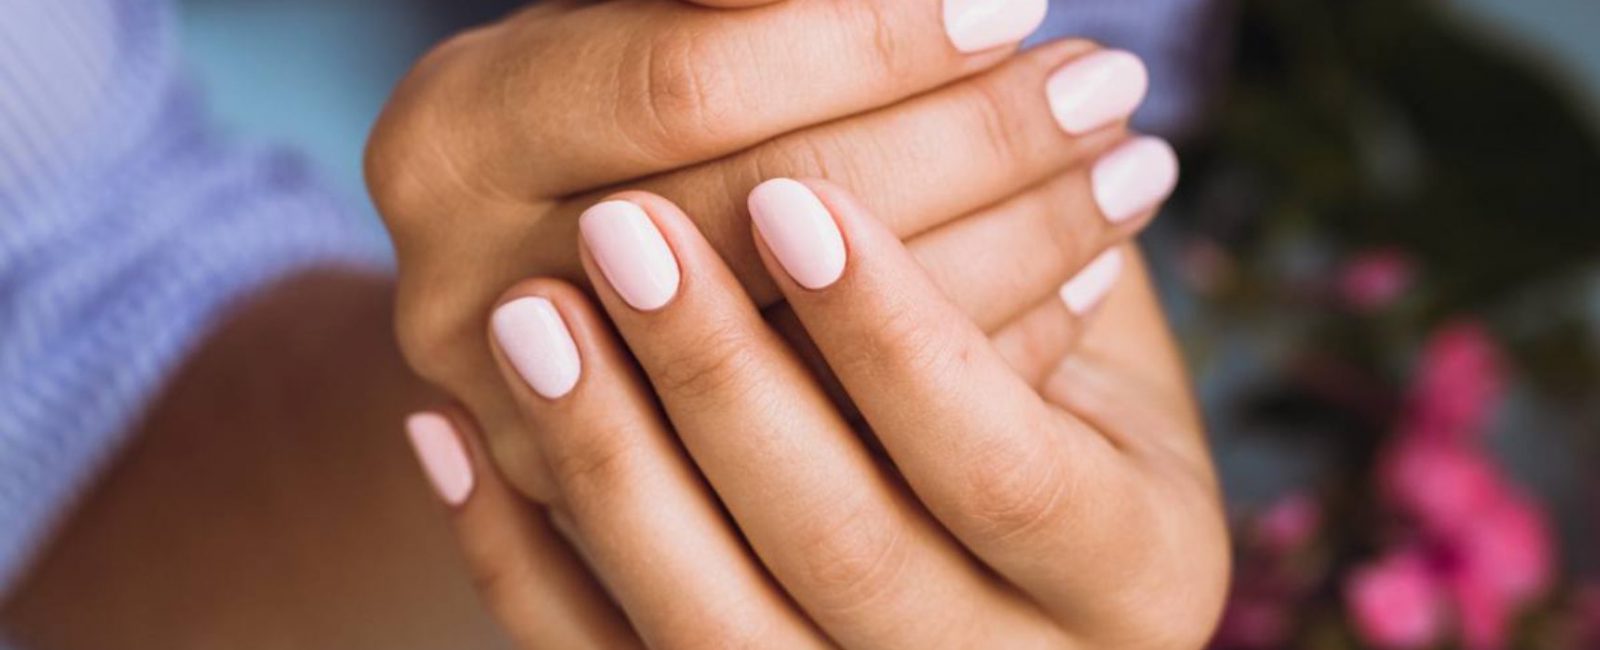
GEL MANICURE AT HOME? Easy! Even easier after I tell you about the must-haves for doing gel nails on your own.
My gel mani adventure began a year ago or so. Firstly I bought a LED lamp, one gel nail polish, a 2-in-1 top coat and primer. Of course I didn’t have all necessary accessories but I tried it anyway and… the effect was pretty good! Appetite comes with eating so I started to learn, read, buy new products.
Now, I’m not afraid to say that there are few girls who know gel mani as much as I do. Since you keep asking me how to do gel manicure at home, I’m happy to share what I know. Here’s a guide made for you. 🙂
Gel nails at home. Tricky?
It’s really easy, believe me! Gel manicure is easy to do and each of you will manage, effortlessly. And you don’t need hundreds of nail polishes like nail technicians do. 2-3 favorite colors are enough. The key thing is you pick the high-quality products that are long-wear and easy to use. I don’t mean only the nail polish.
What do you need if you want to do long-lasting gel manicure at home? I suggest you use some more products than I used as a beginner.
Gel nails – must-haves
- Nail polishes – a neutral color (e.g. nude or powder pink) is good to go for beginners. Why? Any flaws will be less visible. Plus you don’t need to create sophisticated designs and blend colors as a beginner so you don’t need many products.
- Base and top coat – you may go for a 2-in-1 product but I suggest getting two separate cosmetics because they have different tasks: primer prepares the nails for gel and hardens the plate whereas top coat gives a hold and adds shine.
- LED lamp, optionally UV lamp (note! UV radiation is harmful even if it’s generated by a lamp), to cure the polish and make mani last long.
- Cleaner and lint-free wipes – they make it easy to add nail polish coats and remove the greasy film, not leaving some unwanted lint.
- Additional accessories – all things that aid in priming the nails and doing the gel mani correctly: paper files, buffer blocks, clippers, wooden pushers, cuticle oil, etc.
What gel nail polishes to pick?
I recommend Semilac nail polishes, optionally NeoNails. They never let me down, plus they’re long-wear, easy to apply and work for most LED and UV lamps. I believe you should start your gel mani experience with good products to avoid the unnecessary frustration.
If you’re an allergy sufferer, you should check a slightly pricier but really good formaldehyde-free nail polishes by Cuccio for example.
How to do gel nails at home step by step?
Let’s get to the most important part of the post – instructions on how to do gel manicure at home. Though the procedure is simple, I put it in points because devil is in the detail.
Step 1 Prime your nails
Gel manicure starts with standard preparation of nails. You need to cut and remove the cuticles, and make the nails shorter if necessary. At this stage you also take a file and give your nails a desired shape. Almond shape has been my fave recently.
Step 2 Mattify and cleanse the nails
The next step is about mattifying the plate with a buffer. You don’t need to use a lot of pressure – you don’t want to rip off the nail, right? You should aim at a gentle matte effect. Next, you use a cleaner to remove the dust. Step 2 is extremely important because it makes the polish cling to the plate better so your mani lasts longer.
Step 3 Apply the base and cure
Before applying the color, you need to use a base. Smooth a thin coat of colorless primer over the nail and cure it under the lamp – check the indicated time in the leaflet of your product (30-60 secs).
Step 4 Apply two nail polish coats and cure
This step seems to be the most crucial because it finally makes your nails look lovely. Apply the first coat of your polish – keep it thin and don’t worry if it doesn’t fully cover the plate. After curing under the lamp (30-60 secs), apply the other coat – also thin – and cure again. If you want to create some designs you need to do it before curing.
Step 5 Apply a top coat and cure
Once you achieve your perfect nail look, you can finish your mani – apply a thin layer of top coat and cure under the lamp.
Step 6 Clean the nail area and nurture the skin
At last, use a cleaner again to get rid of the greasy layer that might be left after the curing. It’s also a good moment for conditioning the cuticles with a ready-made product or natural oil (I usually use argan oil or shea butter).
Done! Be fair! It is easy! 🙂
